Are you ready to start a fun and easy DIY project? Today, we're going to make a jewelry tree that not only keeps your necklaces and bracelets from getting tangled, but also looks pretty in your room.
This project is perfect for anyone, whether you are just beginning or you already love crafting.
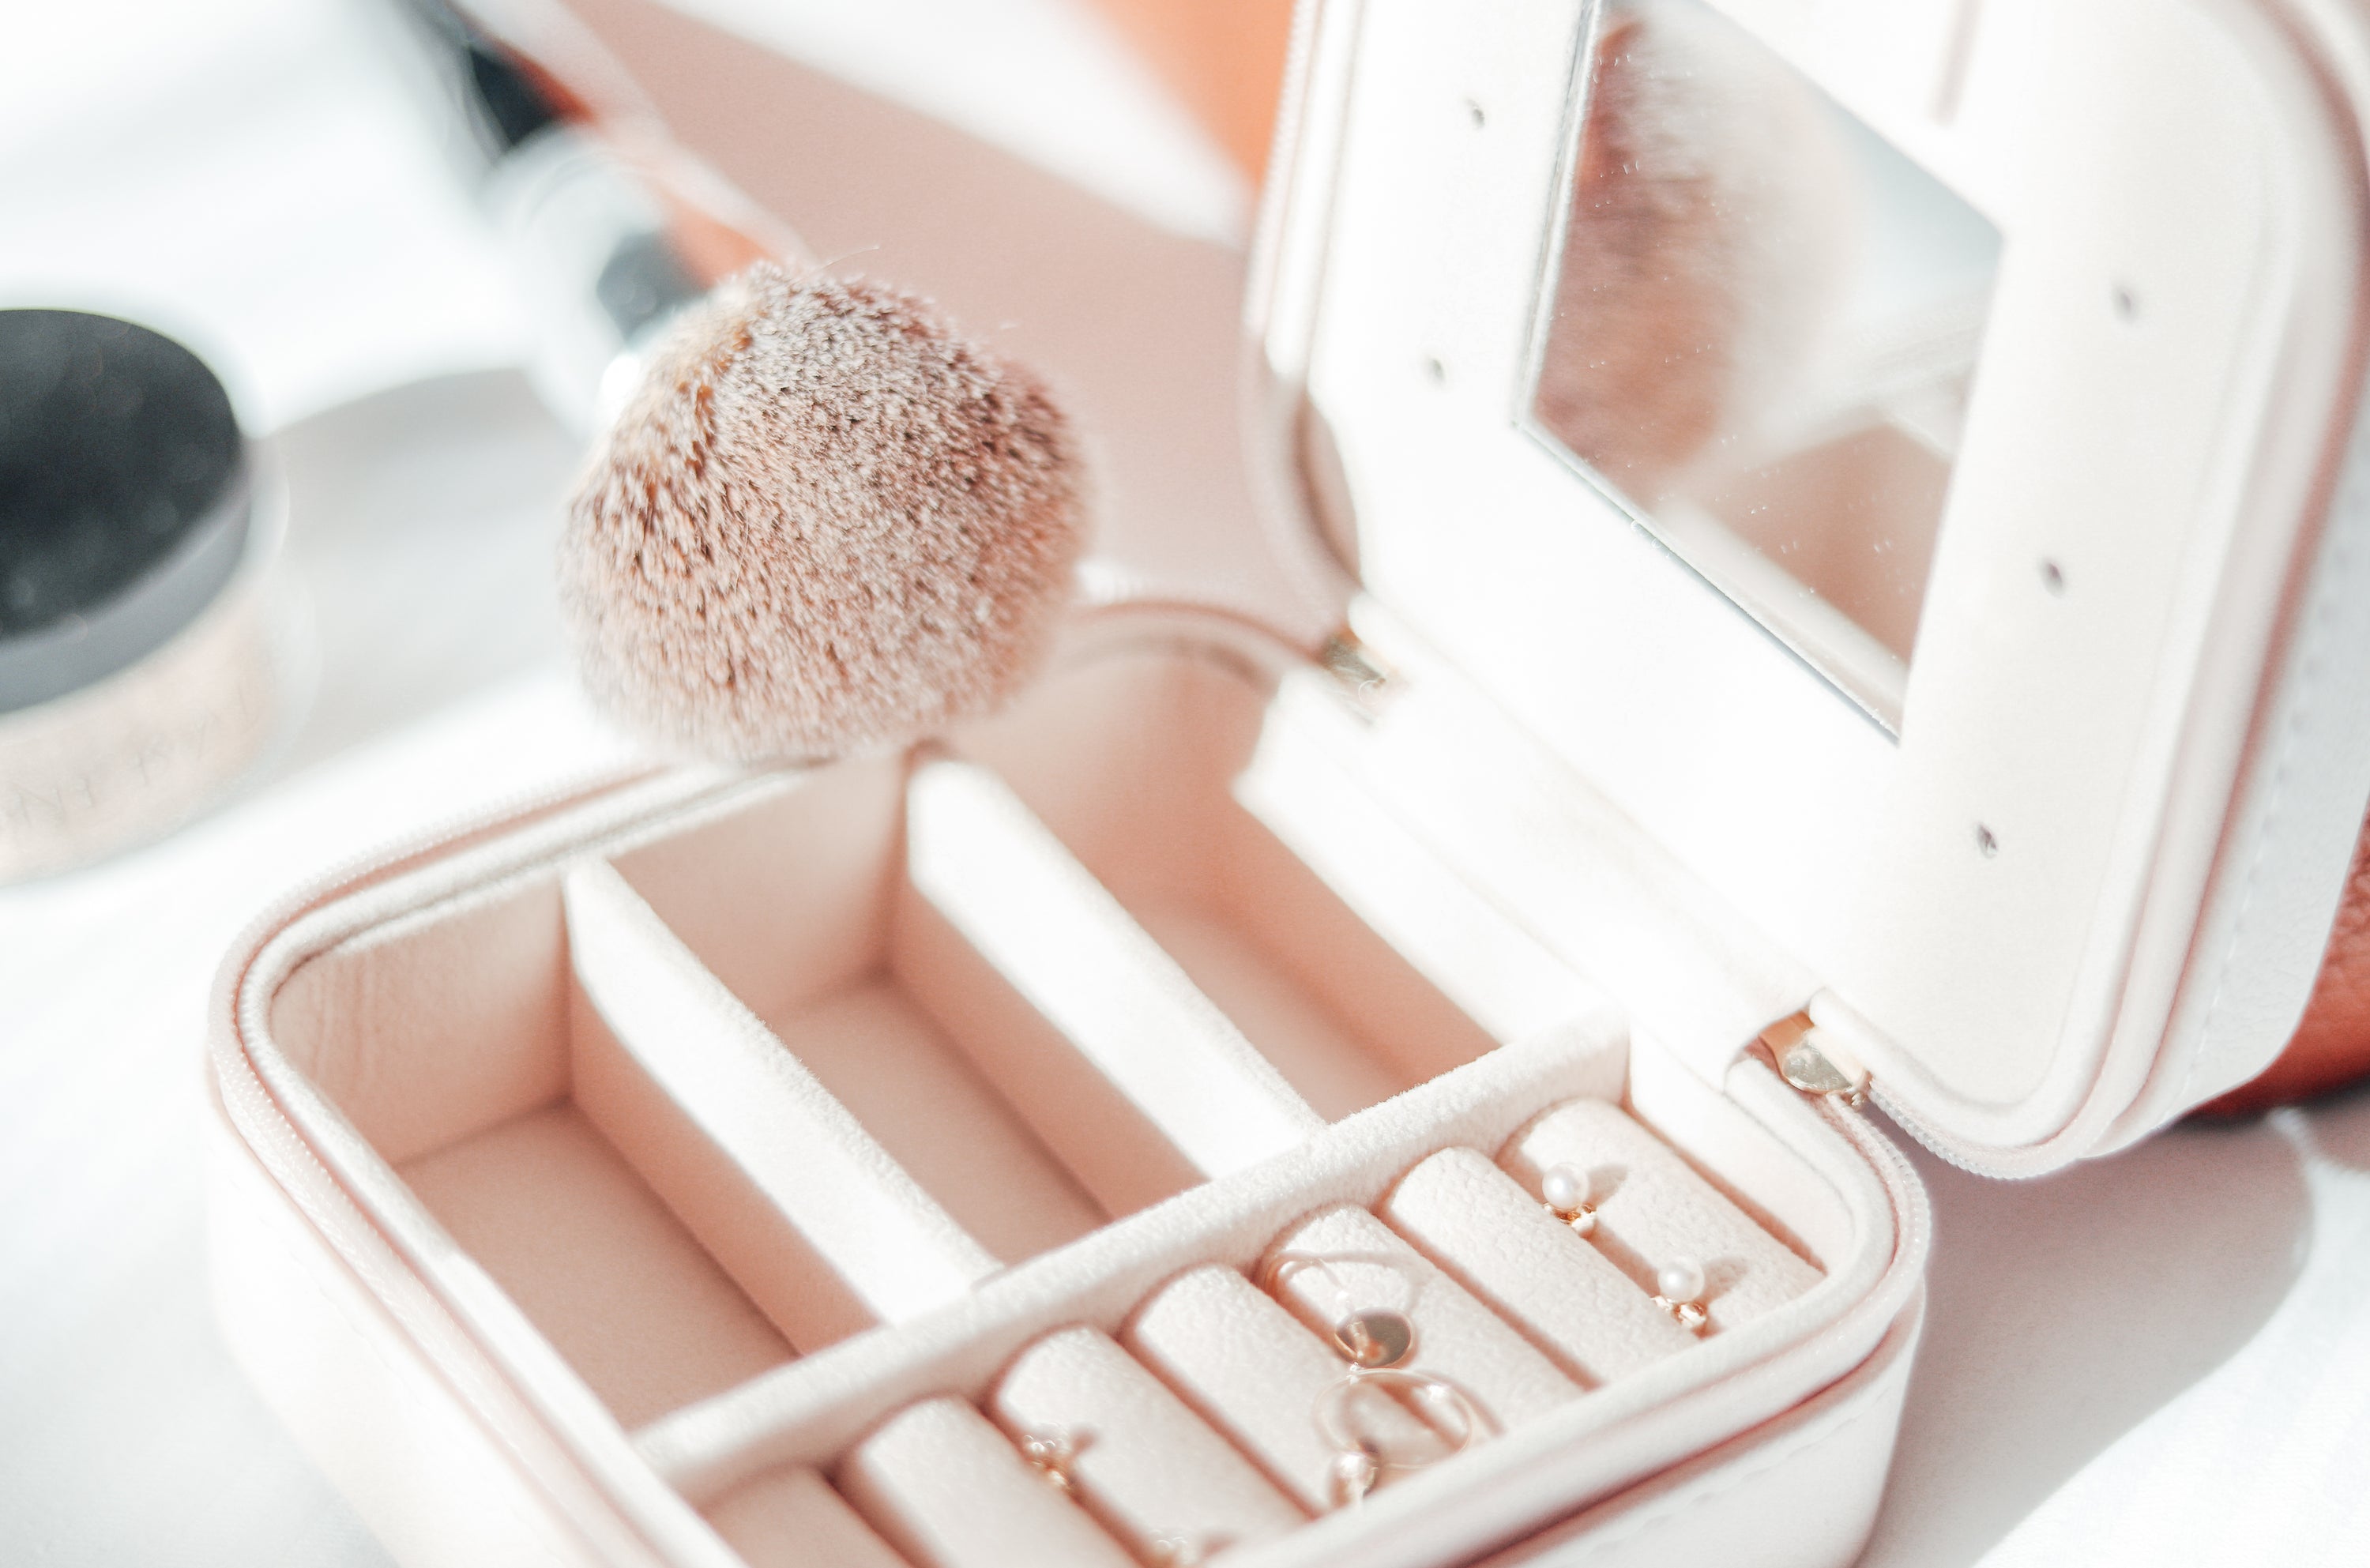
Introduction to making a jewelry tree
What is a jewelry tree?
A jewelry tree is a kind of stand that looks like a tree and holds jewelry. It's like a piece of art that you can use to decorate and keep your jewelry easy to find and not tangled. People have been making jewelry trees for a long time because of their convenience and original design.
There are many types of jewelry trees. Some are large enough to hold lots of jewelry and others are small and fit just a few pieces.
You can find them in different shapes and materials, too. Often made out of metal or wood, some look just like real trees with branches, while others might be more minimalist with just a few places to hang things.
Benefits of creating your own jewelry tree
Making your own jewelry tree is fun and lets you choose exactly how you want it to look. You can pick the color, the size, and even the shape. When you make something by yourself, you can make sure it fits perfectly with your room and your jewelry.
Creating a jewelry tree is also cheaper than buying one from a shop. You can use materials from around your house or from a craft store without spending a lot of money.
Crafting can make you feel good, too. It's fun to make things with your hands, and it can help you feel calm and happy. When you finish making your jewelry tree, you will have something beautiful that you made yourself, and that feels great.
Preparing to make your jewelry tree
What you need:
Before we dive in, let's gather our materials:
- A stylish tree branch: Have a walk outside and look for a sturdy branch with an interesting shape. Make sure it's clean and dry.
- A base: You'll need something to hold your branch upright, like a wood block, a ceramic pot, or a decorative bowl.
- Some decorations: Get creative with paint, beads or pearls, and ribbons to make your tree special.
- Tools: A drill, a screw, glue gun, sandpaper, and varnish.
Setting up your workspace
Preparing an ideal crafting area
To start making your jewelry tree, first set up a place where you can work. Choose a spot that has enough light so you can see clearly what you are doing. You will need a table or a desk that gives you enough space to spread out your materials. It's good to have everything you need close by so you don't have to stop and look for things while you are working.
Make sure the surface is clean and dry. Cover the table with old newspapers or a cloth to keep it from getting dirty or scratched. This will help you clean up easily after you are done.
Safety tips and practices
When you are making a jewelry tree or any other craft, it's important to be safe. Here are some tips:
Prepare your material in advance. Make sure you have everything handy before you get started so you don't have to interrupt yourself to get a tool.
Keep your space tidy. Don't leave tools or materials around where you might trip over them. Put things back in their place when you're not using them.
Wear the right clothes. It’s a good idea to wear an apron or old clothes you don’t mind getting dirty. This keeps your regular clothes clean and keeps loose clothing away from any glue or sharp tools.
By setting up a good space and following these safety tips, you can have fun and make a beautiful jewelry tree safely.
Step-by-step guide to crafting a jewelry tree
Step 1: Prepare Your Branch
To start, pick a branch that looks nice to you. Clean it up by removing extra twigs and smoothing rough edges with sandpaper. You can add a coat of varnish to bring out the natural beauty of the wood.
Step 2: Secure the branch
Next, attach your branch to the base. You can use strong glue or drill a hole in the base and stick the branch in securely. Make sure the branch stands straight and firm.
Step 3: Add decorative touches
Now for the fun part—decorating! Paint your branch a color you love or add some patterns. Then, hang beads or other small decorations on the branches. This is your chance to be creative and give your jewelry tree a personal touch.
Step 4: Arrange your jewelry
Once your tree is ready, it's time to hang your jewelry. Place necklaces, bracelets, earrings, and rings on the branches. Arrange everything so it's easy to see and grab what you need.
Conclusion
There you have it! With just a few items and a little creativity, you've made a beautiful and useful decoration. Whether you keep it for yourself or give it as a gift, your DIY jewelry tree will definitely get lots of love. Enjoy your crafting and be happy with your newly created piece!
This project is a great way to display your favorite jewelry and add a bit of style to your room. It's also a fantastic family craft idea for a weekend. You'll be amazed at how a simple branch can transform into something so pretty and functional. Keep this project in mind the next time you want to try something new and fun!